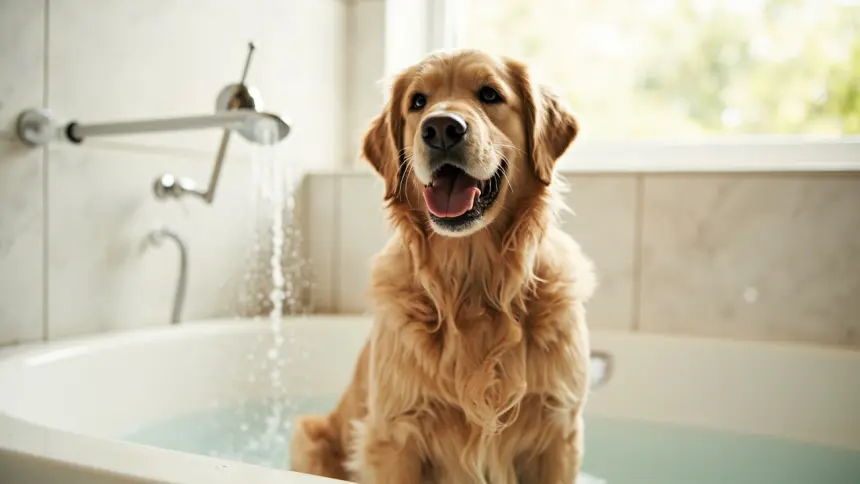
You have probably done this before. Your dog emerges from the bath looking like a soggy, matted mess. You grab a towel, give him a few rubs, and then — because you are already late and the towel is damp — you let him air-dry on the couch while you rush out the door.
If this sounds familiar, you are not alone. Most dog owners do not realize that how you dry your dog after a bath matters almost as much as the bath itself. Improper drying leads to matting, skin irritation, hot spots, and that distinctive wet-dog smell that lingers for days. Getting it right takes about ten extra minutes and saves you significant grooming headaches down the road.
Why Air-Drying Is Usually the Wrong Call
The logic behind air-drying seems reasonable. Your dog has fur, not hair. Fur is supposed to get wet and dry naturally. But this line of thinking overlooks two important realities.
First, most dogs — especially medium and long-haired breeds — have a dense undercoat that holds moisture against the skin long after the outer coat feels dry. A dog can feel dry to the touch and still be damp at the skin level for hours. That persistent moisture creates the perfect environment for bacterial and fungal growth, which is how hot spots develop.
Second, when a wet undercoat dries slowly, it tends to tangle. These tangles start as small knots and can become full-fledged mats within a day or two. Mats are not just an aesthetic problem. They pull on the skin, cause discomfort, and can hide skin infections underneath.
Short-haired dogs with single-layer coats — beagles, labradors, boxers — can generally air-dry without significant issues. If your dog has any length to his coat, air-drying is a gamble.
The Right Order of Operations
Proper drying starts before the bath is even over. The last minute of bath time should be focused on thorough rinsing. Any remaining shampoo residue left on the skin causes irritation and contributes to that musty smell. Rinse until the water runs completely clear.
Once out of the tub, the first step is a dedicated towel-drying phase. Use absorbent towels — ideally microfiber pet towels, which are significantly more effective than standard bath towels — and work systematically. Start at the head and neck, move down the back, then do the legs and belly. Do not forget the armpits, groin area, and the skin between the toes. These are the spots that hold the most moisture and get the least attention.
Change towels once the first one is saturated. A towel that feels only slightly damp to your hand is still holding a surprising amount of water against your dog is coat.
When to Reach for a Blow Dryer
For dogs with medium or long hair, a blow dryer is not optional — it is necessary. But the type of dryer matters. A standard human hairdryer on high heat is a burn risk and will also strip the natural oils from your dog is coat.
What you want is a dryer specifically designed for pets, or at minimum, a human dryer with a cool-air setting. Force-air dryers — the kind used in grooming salons — work by blowing ambient-temperature air at high velocity. They dry the coat from the outside in, separating the fur as they go, which also prevents matting.
When using a dryer, keep the nozzle at least six inches from your dog is skin and move it constantly. Holding it in one spot, even on cool, can create hot spots. Watch your dog is body language throughout. If he is flinching or moving away, lower the pressure or switch to a lower setting.

The Detangling Step Nobody Talks About
After blow drying — once the coat is about eighty percent dry — this is the ideal time to brush. The heat from the dryer softens any remaining tangles and makes them easier to work out. Brushing at this stage also fluffs the undercoat and gives the top coat that full, healthy appearance.
Use a slicker brush for the main body and a comb for the face, ears, and legs. Work in sections, following the natural direction of hair growth. If you hit a mat, do not yank it. Apply a detangling spray and gently work through it with a dematting comb.
Skipping this step after a bath is one of the most common grooming mistakes. By the time the coat is fully air-dried, any tangles have tightened considerably, and brushing becomes a frustrating, uncomfortable experience for both you and your dog.
What About the Ears?
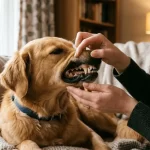
Ears deserve special attention during the drying process. The ear canal of a dog should never have water forced into it, but the external ear flap — the part you can see — needs to be dried thoroughly. Moisture trapped in the ear flap creates an environment for yeast and bacterial infections.
Use a cotton ball or a soft cloth to gently dry the outer ear. Do not use a cotton swab inside the ear canal. If your dog has floppy ears, carefully lift the ear flap and air it out for a minute or two before letting it fall back into place.
For dogs with recurrent ear infections, adding a veterinarian-approved ear drying solution after each bath is a worthwhile preventive step. These solutions are formulated to change the pH inside the ear canal, making it less hospitable to the bacteria and yeast that cause infections.
The Payoff Is Worth the Ten Minutes
Proper drying takes about ten to fifteen minutes for a medium-sized dog. That investment pays off in a coat that looks better, smells fresher, and stays healthier between baths. Dogs that are consistently dried properly tend to need fewer dematting sessions at the groomer, develop fewer hot spots, and have less skin irritation overall.
The other benefit is behavioral. Most dogs who associate bath time with being uncomfortable will resist the entire process. A thorough drying — especially with a force-air dryer, which many dogs actually enjoy — helps build a more positive association. A warm, fluffy, freshly groomed dog is a genuinely pleasant thing to live with.